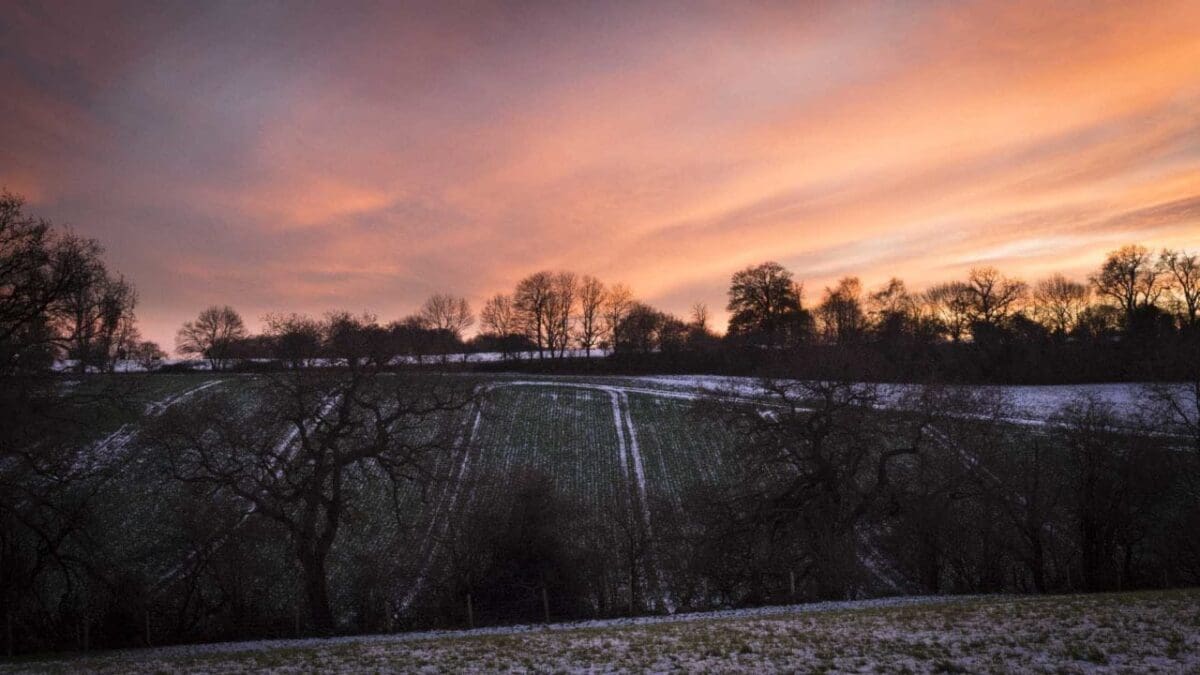
Everyone loves a sunset – particularly photographers. But choosing the best camera settings for sunsets can be a challenge, as you want to capture the sun’s colours as they appear to you, not how your camera thinks they should be. To this end you need to take control of your exposure and adjust your settings to suit the conditions because in extreme lighting your camera might not interpret the scene in the way you expect. In this guide we’ll show you how to photograph sunsets with whatever camera you have.
To this end, exposing for the sky will give you the most striking colours, but the consequence of this is that your foreground will become very dark. To combat this, mount an ND grad filter to balance the exposure.
In this tutorial we’ll show you how to photograph a sunset by first setting up your camera and then running through the accessories you need to do the job.
Best camera settings for sunsets
Below we’ve suggested some of the best camera settings for sunsets; however, we should point out that these are simply a starting point. Dial these settings in and you’ll get a solid exposure, but undoubtedly you’ll want to let your creativity take over!
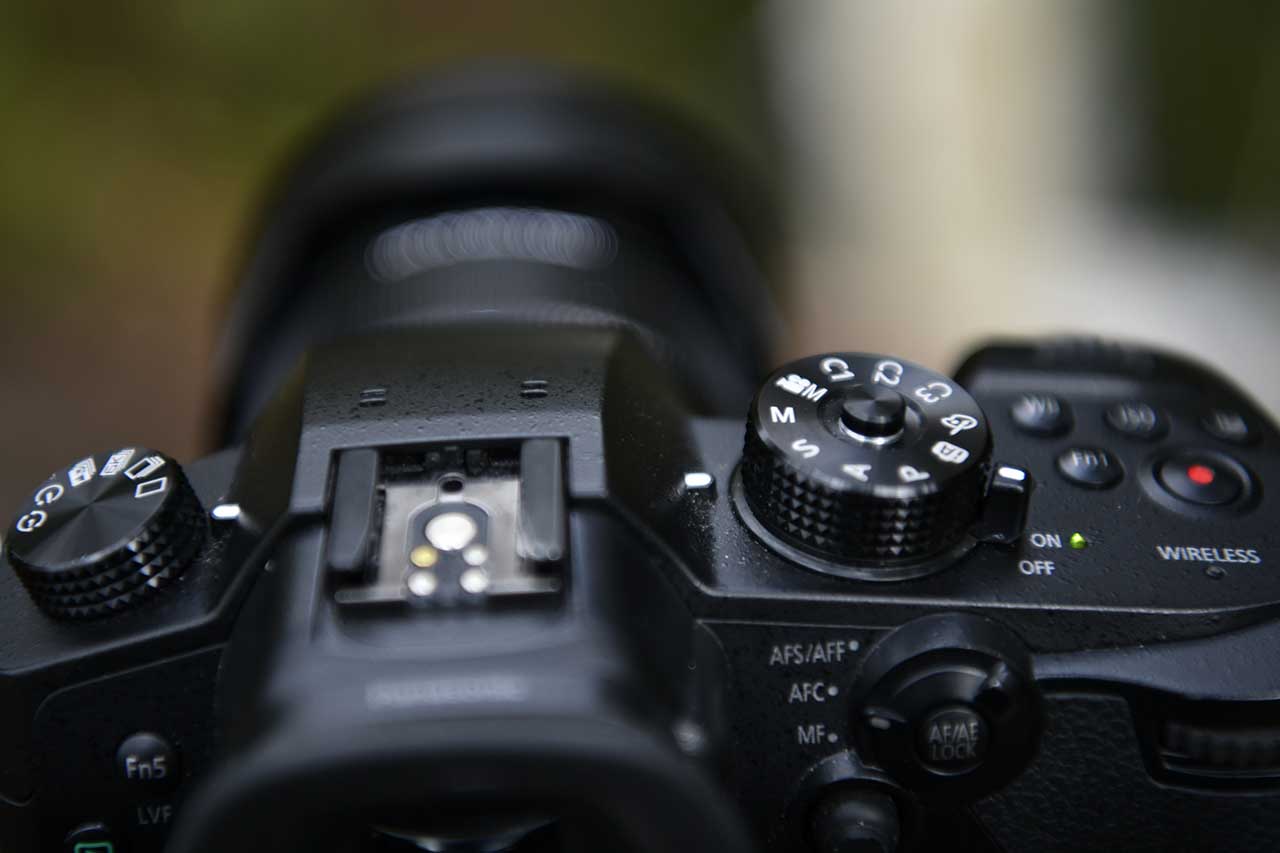
- Exposure mode: Manual
- Focus mode: Manual
- Shutter speed: 1/30sec or longer
- Aperture: f/16
- ISO: 100 or lower
- Lens: 18-24mm
- Drive mode: Single-shot
- White balance: Daylight
Exposure blending
If you don’t have an ND grad filter, try shooting your scene twice. In your first shot, expose for the sky; in your second, expose for the land.
Back home, combine them in your image-editing software using an exposure blend technique and you’ll get an image with more dynamic range that looks like what you saw in the moment.
Sunsets are fleeting moments, but if you make a plan for how to photograph them you can end up with stunning images. Because the light is changing fast during a sunset, getting your exposure settings can be tricky – particularly your first time.
The most common challenge you’ll find when photographing a sunset is that in one part of the frame you’ll have rich, intense colours that are very warm. But as the sun gets lower in the sky, your foreground will fill with shadow.
Because of this, the number one rule of photographing sunsets is to shoot in raw. Set your camera’s white balance for the sunset colours, and then with a raw file you have the flexibility to adjust those shadow areas in the editing stage.
So now that we’ve set our cameras to shoot raw files, let’s take a look at how to set up your camera to photograph sunsets.
Setting up your camera to photograph sunsets
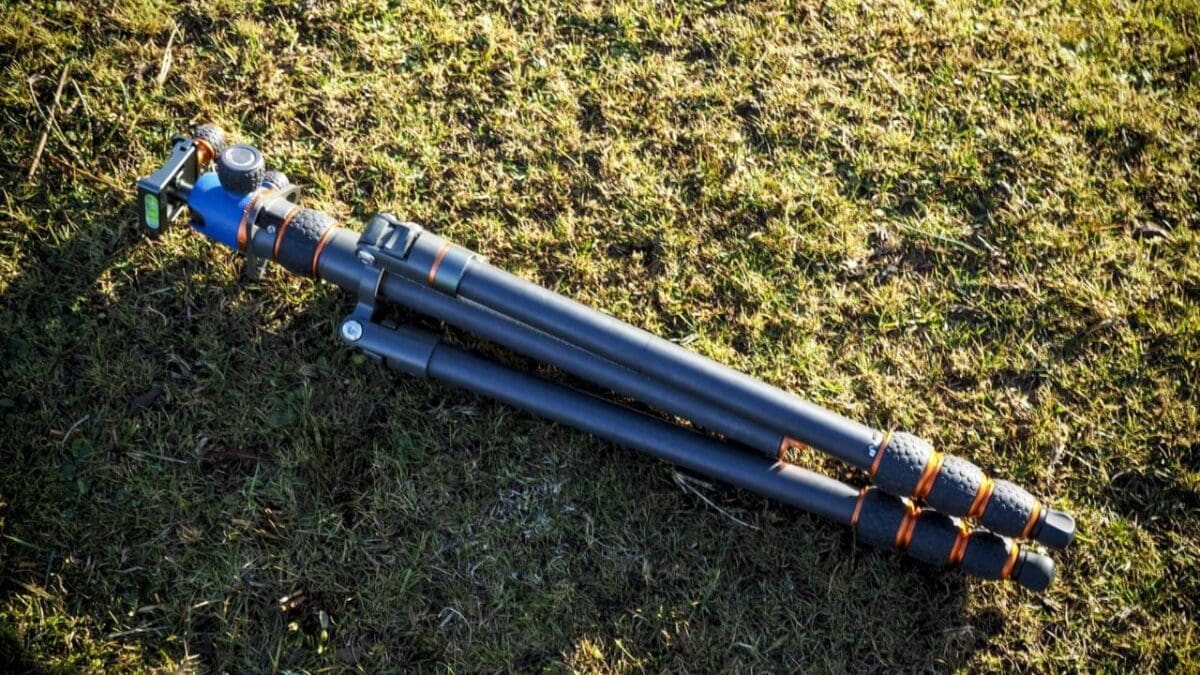
01 Use a tripod
It sounds obvious, but we often forget or think we can get away with shooting handheld. You can’t. The best way to cut the risk of camera shake is to set your camera up on a tripod. As the light fades your exposures will get longer, and the slightest hand movements will spoil the magic.
Now, you might be able to get away with photographing a sunset handheld if you increase the ISO, but as good as cameras are these days you’ll find that you’re introducing noise into your beautiful scenes at higher sensitivities.
If you don’t have a tripod, 3 Legged Thing (here are some good deals at Amazon UK and Amazon US), Vanguard (here are some good deals at Amazon UK and Amazon US) and Manfrotto (here are some good deals at Amazon UK and Amazon US) are good options to look at.
02 Choose the Daylight white balance preset
Every sunset is different and tastes of course vary, but as a general rule setting your camera’s white balance preset to Daylight will really bring out the warm yellow and orange tones in the sky. Your Cloudy and Shade presets will do the same, but to a lesser extent. So perhaps you want to choose these when a sunset is particularly spectacular.
Avoid your Auto White Balance, though. While AWB is great in most everyday situations, in a sunset it will dampen the warm tones and give you a flatter image.
03 Use Manual mode
You’ll find it difficult to get a correct exposure using any of your camera’s automatic modes during a sunset because the light is changing from second to second. The only way to ensure accuracy is to set a manual exposure and adjust it from shot to shot.
04 Set a narrow aperture
For sunsets, like other landscapes, you’re going to want maximum depth of field (a wide zone of sharpness). So to achieve this you’ll want to set a narrow aperture (high f number) of f/16 or f/22. Shooting at narrow apertures ensures more of your scene is in focus.
However, it does mean that less light is entering your camera, so you have longer shutter speeds to work with. Luckily you followed our advice in step 1 and are using a tripod!
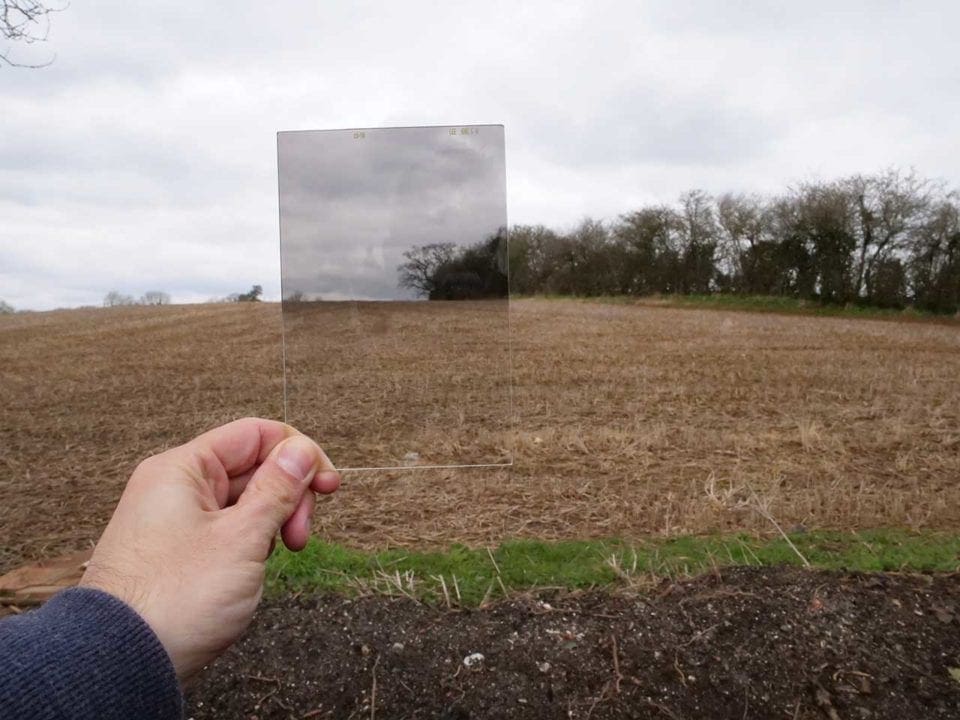
05 Use an ND grad filter
Remember up above how we talked about the big challenge of photographing a bright, vibrant sky and a dark foreground? An ND grad will help you balance those two contrasts.
An ND grad, or graduated neutral density filter, is literally a piece of glass on which the top half is darkened so that when you mount it to your camera it will allow you to get a correct exposure for that dark foreground while reducing the amount of light reaching your sky. This means you get a more balanced exposure with plenty of colour and detail in both sky and foreground. And ND filter is also handy for shooting a daytime long exposure.
If you don’t have an ND grad filter, popular manufacturers are LEE, Hoya, Cokin, K&F, among others. You can find good deals on ND grad filters at Amazon UK and Amazon US. For more on ND grad filters, check out our guide to the best variable ND and ND filters.
06 Take a test shot
Like any subject, when photographing sunsets there is some trial and error involved. Any ‘best camera settings’ are really just rough guidelines to get you in the ballpark, and from there you need to take some test exposures and fine tune as necessary.
Typically, when you view your test shot in in Playback mode you can press an Info button or equivalent and see the image’s histogram and exposure settings as a reminder for how you can tweak it further.
07 HDR mode
Does your camera have an HDR mode? Most these days have an option, and if you don’t have an ND grad filter or you’re on holiday with your smartphone or travel zoom compact camera the built-in HDR option can be a great way to balance those sky and foreground exposures and come home with a better image than you would have got in the standard shooting mode.
How do you take long exposure pictures of a sunset?
Sometimes you’ll want to shoot a longer exposure of a sunset to saturate the colours, smooth out water or generally just add more drama. To take a long exposure picture of a sunset you’ll, first, want to mount your camera on a tripod.
Ideally you’ll want to be shooting on a wide-angle lens or at your lens’s widest focal length, if it’s a zoom, to capture as much of the sky as possible. Then set a small aperture (high f number) of around f/11 to f/16 in order to get more depth of field.
A strong neutral density filter (ND) is also really helpful for taking long exposure pictures of sunsets. This filter mounts to your lens and reduces the amount of light coming in. A 10-stop ND filter, for instance, reduces the amount of light by about 1000 times. It can take some trial and error to find the right combination of exposure settings, but using an ND filter to shoot long exposures of sunsets really helps you capture vital details in the dark foreground, while not blowing out the strong, bright colours in the background.
Once you’re set up, you’ll then want to set your camera’s exposure mode to Manual or Bulb. Next, dial in a slow shutter speed. Depending on light levels and the strength of your ND filter, this could be anywhere from 5secs all the way up to 30secs. Then set the lowest ISO value possible.
You might not get it right the first time because exposures in these situations aren’t straightforward, and light levels are constantly changing at sunset. But with patience you’ll get the shot you want!
Sunset portrait photography tips
Sunsets can make beautiful backdrops for outdoor portrait photography, but your main challenge will be exposing for your subjects face against that strong back light. Try these tips for getting better exposures in your sunset portrait photography.
1 Use off-camera flash
Off-camera flash is crucial for shooting sunset portrait photography. A little fill flash on your subject’s face will brighten it up and lift the shadows caused by the strong back lighting. Find the best deals on flashguns for your brand of camera on Amazon UK and Amazon US.
2 Expose for the sky
The point of your sunset portrait is to capture those stunning colours, so set your exposure for sky. Because you are exposing for these bright background colours, your subject in the foreground is therefore going to be thrown into shadow. Your flash takes care of this.
3 Underexpose the background
Without flash we would suggest overexposing the background to brighten your subject’s face, but if you’re using flash we would suggest the opposite. Dial in a faster shutter speed to underexpose the background. Your colours will be more saturated as a result. Try 1/250sec or thereabouts as a starting point and work from there.
4 Use your histogram
You can typically bring up your camera’s histogram, or exposure graph, as a display option in live view mode. Here you’ll be able to see how balanced your highlights, midtowns and shadows are. Shadow detail is easier to recover in post-production, so it’s best to focus on those highlight details and ensure you aren’t overexposing your image.
5 No flash? Use a reflector
If you’re intimidated by flash or simply don’t have one, try using a reflector to bounce a little light back onto your subject’s face. You can find good deals on reflectors on Amazon UK and Amazon US. A good reflector doesn’t have to cost a lot of money these days.
Best camera accessories for shooting sunsets
There are a number of accessories you can buy that will make the job of photographing a sunset all the more easier. Let’s take a look…
Sunset calculator
Half the battle in photographing a sunset is making sure you’re in the right place at the right time. That’s where a sunset calculator app can come in very handy. LightTrac is a good option, which costs £3/$5 and is available for both iOS and Android. The app will tell you the precise time that the sun will set, and at what angle, for any location and date.
Tripod
Light levels are low at sunset, which means slow shutter speeds, especially if you’re using a graduated neutral density filter (which we mentioned in our step-by-step above) and a small aperture. This makes a tripod perhaps the most essential accessory for photographing a sunset.
You can find great deals on tripods suitable for landscape photography at Amazon UK and Amazon US. Or, a tripod like the Vanguard VEO 2 is a lightweight carbon fibre option with a very modest price tag.
Sunset filters
A sunset filter not only enhances the warm glow of a sunset, but it can also help you solve those exposure problems you get from really bright skies. LEE makes an excellent set of Sunset filters, which consists of red, yellow and orange grads.
Remote release
When you’re shooting in fading light, you’re going to be working with slower shutter speeds. And though you may have the sturdiest of tripods, the slightest movement could cause vibrations that spoil your shot. Using a remote release means that you don’t have to physically touch your camera to trigger the shutter, reducing the risk of camera shake significantly. For more information about remote releases, check out our guide on the best camera remote controls.
Best cameras to shoot sunsets
There are two elements that are especially important for good landscape photography, colour and dynamic range. A camera that has good colour production and dynamic range will produce images that have a wide range of tones with smooth gradations, the highlights won’t burn out too quickly and there will still be some detail visible in the darker parts of the image.
Provided the colour transitions are gradual where they need to be, colour accuracy isn’t usually a major factor because we tended to ramp-up the saturation and warmth of a sunset for greater impact.
With these points in mind, these are our pick of the cameras for shooting sunsets.
Nikon D850
Despite its high pixel count (45.7million), DXOMark ranks the Nikon D850 at number two behind the medium format Hasselblad X1D-50c for dynamic range with a measured value of 14.8EV at its lowest sensitivity (ISO) setting. Its colour reproduction is also extremely good and with all those pixels on its full-frame sensor, it’s capable of capturing a high level of detail, making it a great choice for general landscape photography not just sunsets.
Sony A7R IV
While the D850 achieves the highest dynamic range of the pair at the lowest ISO values, jump up to ISO 100 and the A7R IV takes the lead (just) and keeps it for most of the ISO range. So there’s very little in it.
Further good news is that the A7R IV also has excellent colour reproduction and its small size for a full-frame camera makes it an appealing option for landscape photographers.
Pentax K-1 Mark II
The Nikon D850 and Sony A7R III are both excellent cameras, but they have prices that will make dinner guests gasp when they ask how much your camera cost. If you’re searching for a more budget-friendly full-frame camera to add to your list of potential full-frame purchases, then the Pentax K-1 II is likely to rear its head.
While we’d never recommend it for anything that required fast focusing, it’s an extremely good landscape camera that captures impressive levels of detail, good colour and a wide range of tones.
Nikon D7500
The 20.9Mp APS-C format Nikon D7500 is a good all-rounder that captures a good level of detail with excellent colour an dynamic range. It’s 51-point AF system gets subjects sharp quickly, even in quite low light – handy around sunset.
Sony A6600
Sony’s 24.2Mp APS-C format A6600 is a popular camera that has impressed many people with it’s nippy focusing, detail resolution and colour rendition. Being a mirrorless camera, it’s built-in viewfinder shows the impact of camera settings when you’re composing the image, which makes getting the exposure right, with a good balance between the shadow and highlights easier.

Very helpful info, thank
Very helpful info dude keep up the good work
Great, am glad i found this post very resourceful am going to use them all