Nikon first introduced SnapBridge with the Nikon D500 in January 2016 and it has included the technology in every camera since, including the Nikon Z7 II, Z6 II, Z5, Z50 and the recently announced Nikon Z fc. It started well with the D500 but there have been a few performance issues along the way. Happily, the most recent versions of Nikon SnapBridge have proved very reliable and it’s a nice asset for Nikon photographers.
What is Nikon SnapBridge?
There are two elements to SnapBridge, the technology within the camera that uses Bluetooth and Wi-Fi connectivity and a free SnapBridge app that’s available for both iOS and Android devices. It enables the camera to stay connected wirelessly with a paired smartphone so that images can be transferred automatically from the camera to the phone from where they can be shared widely.
If you opt not to transfer images automatically from the camera to your phone, you can transfer individual images. The Nikon SnapBridge app can also be used to control a paired camera remotely, which is great news for shake-free images and when you want to be in the shot. In addition, with the Z6 II and Z7 II, Nikon added the ability to upgrade the camera’s firmware using the SnapBridge app. It makes the process quicker and easier, and provided you have a decent phone/Wi-Fi signal and well-charged battery, you can update the camera’s firmware almost anywhere without the need for a computer.
Follow the link to find out how to upgrade your Nikon camera’s firmware using the SnapBridge app or a computer.
How to connect your Nikon camera and phone using SnapBridge
01 Download and install the app
If you haven’t already downloaded the SnapBridge app to your Android phone or tablet, or iPad or iPhone, do so now. The Nikon SnapBridge app is free and can be downloaded from the App Store or Google Play.
02 Open the camera’s menu
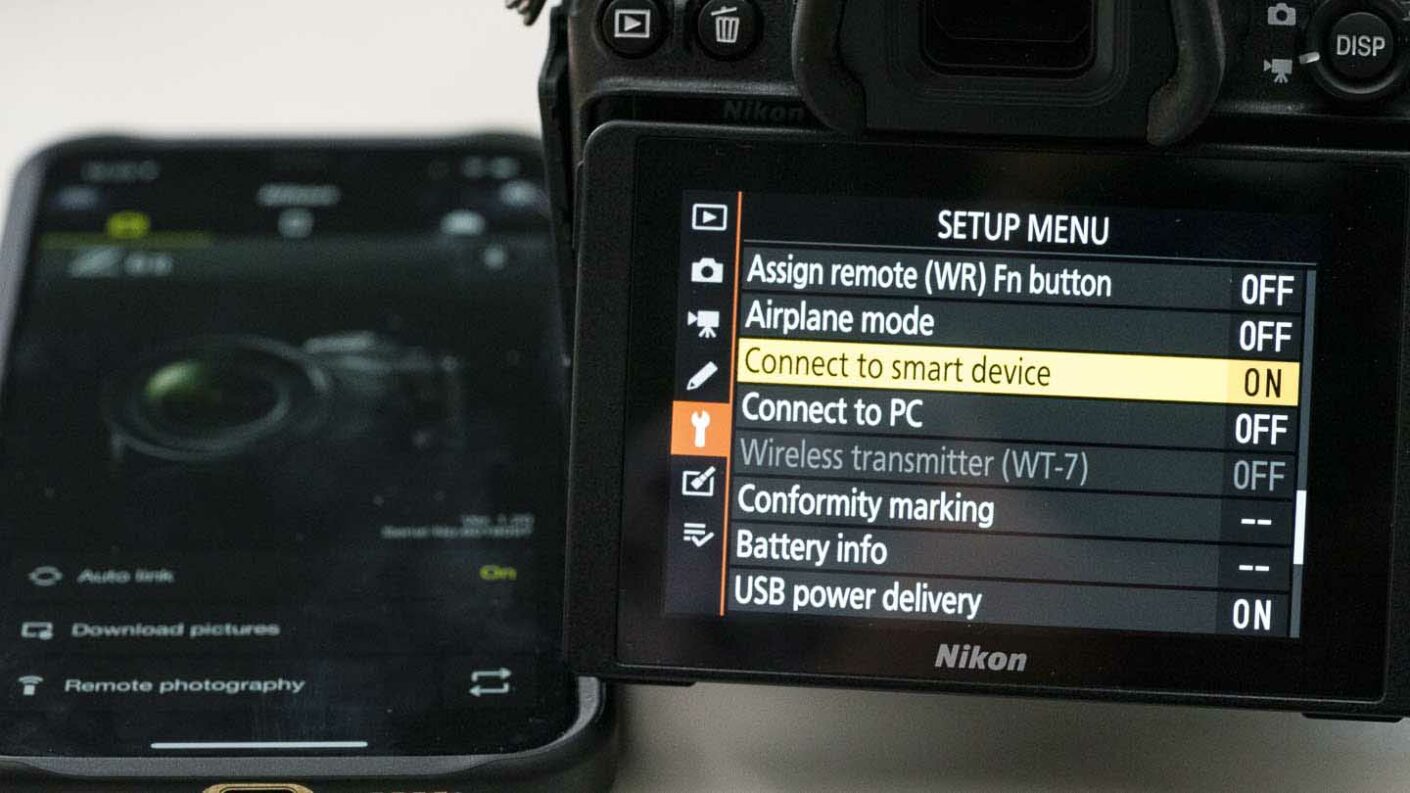
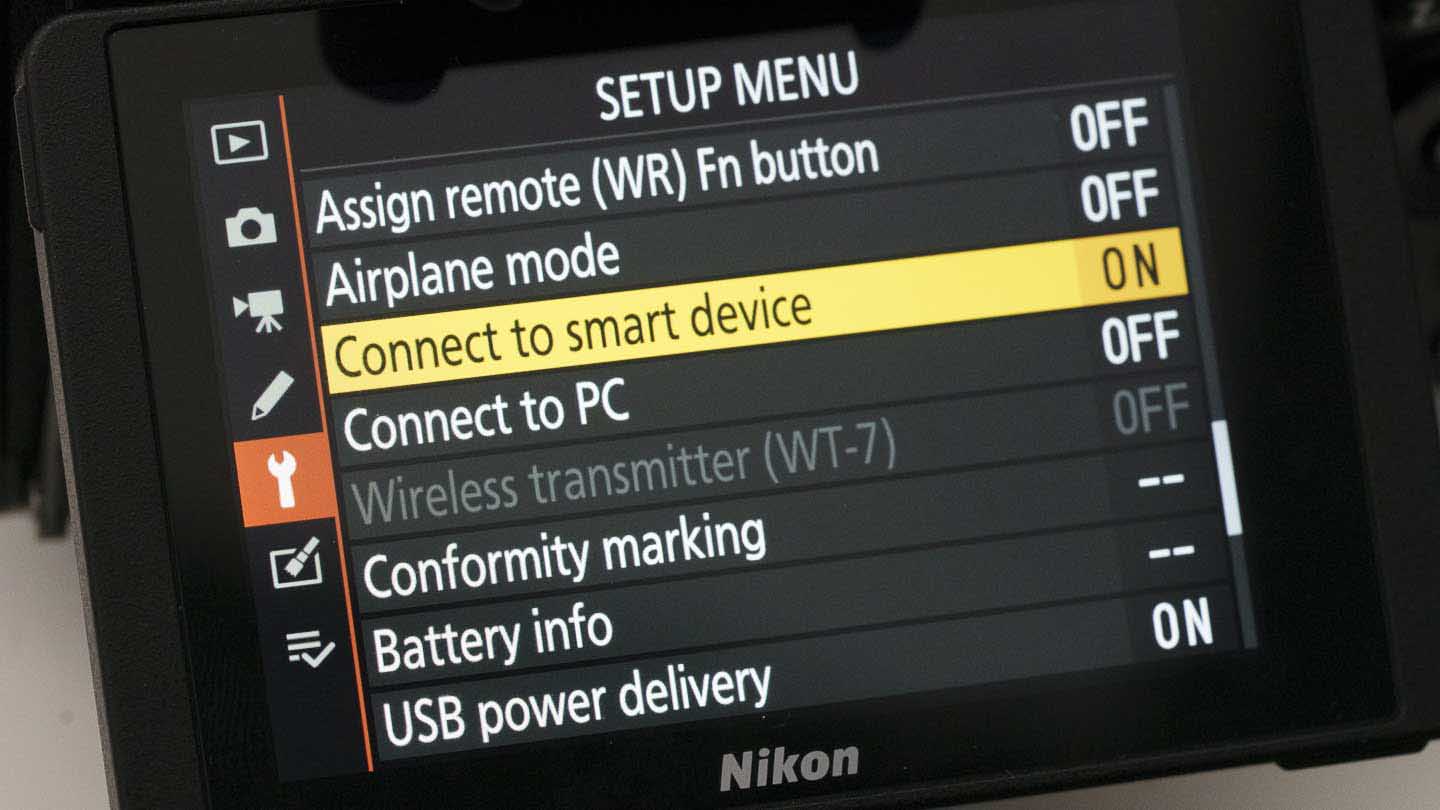
The first step is to press the menu button on your camera and head to the ‘Setup Menu’ – its the tab with the spanner icon. Tap on, or scroll down to ‘Connect to smart device’ and press the ‘OK’ button.
02 Select Bluetooth
In the next screen that opens, select to use Bluetooth as the connection method and check that your phone’s Bluetooth system is turned on. Then select ‘Start pairing’.
03 Open SnapBridge on your phone
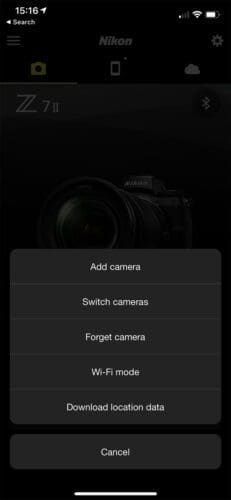
On your smartphone, tap on the SnapBridge app icon to open it. If the ‘Add camera’ option is showing, tap on it, but if it’s not visible, tap on the cog icon in the top right corner of the the ‘phone screen and then tap on ‘Add camera’.
04 Select your camera
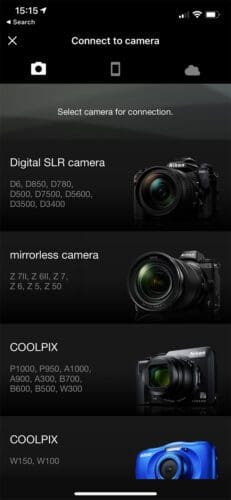
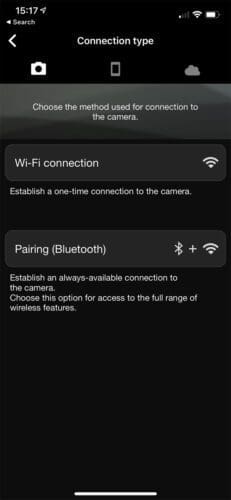
The app will now show a list of camera types. Tap on the right one for your camera and then tap on ‘Pairing (Bluetooth)’.
05 Start the search
Your camera and phone are now searching for each other. When your camera finds your phone, press the camera’s ‘OK’ button and then tap on the name of your camera on the phone, followed by ‘Understood’.
06 Connect the camera and phone
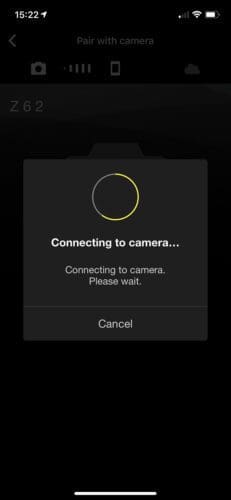
Your phone will now begin to connect with your camera. When the SnapBridge app displays ‘Select an accessory’, tap on the name of your camera again. Once they connect, tap ‘Pair’ on your ‘phone and press ‘OK’ on your camera to finalise the pairing – your phone should confirm that this has happened.
How to use Nikon SnapBridge
You can transfer individual images from your Nikon camera to your phone but it’s easier and quicker to transfer them all automatically. You probably don’t want the full-resolution files going across to your phone, but that’s OK because SnapBridge defaults to transferring 2Mp versions. Here’s what you need to do:
01 Enable Auto download
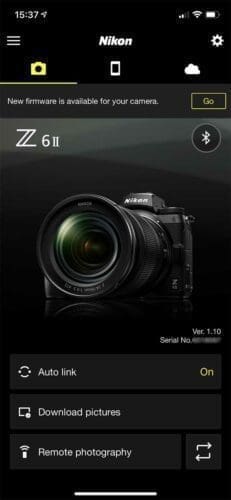
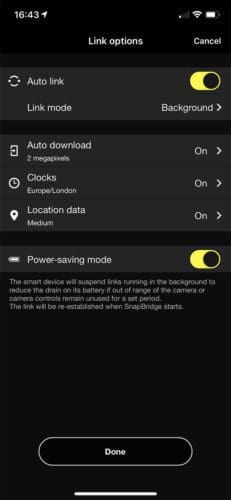
On the home screen of the SnapBridge app, tap on ‘Auto link’, then on the next screen ensure that the Auto link is activated (as shown below with the yellow switch showing) and check that the Link mode is set to ‘Background’ while the ‘Auto download’ is ‘on’ with the 2 megapixel option selected.
It’s also helpful to set the clocks and location data to ‘On’ as this will sync your camera’s clock with your phone and tag the images with GPS information from your phone. The ‘High’ location data setting sets the phone to update the camera frequently with the information but it drains the phone and camera’s batteries. Meanwhile, the ‘Low’ setting does it the least frequently. I tend to use the ‘Medium’ setting.
02 Start taking photographs
With your camera and phone paired and the Auto transfer on, your camera will begin to transfer images to your phone as soon as you start shooting and it will continue to do so until they are all transferred, even if you turn the camera off. The images are visible in the SnapBridge app (just tap on the phone icon) and in the phone’s camera roll.
If your camera and phone have been out of range, or you take the battery out of the camera to charge it, you may need to remind them to communicate. I usually find that opening the app and turning the camera on and off does the job
03 Take remote control
There are two ways to control your camera remotely with your phone. The first uses BlueTooth connectivity while the second uses Wi-Fi . To swap between the two, tap on the arrows at the bottom of the screen next to where it says ‘Remote photography’ or ‘Bluetooth remote control’ at the bottom of the app home screen
Using the Wi-Fi connection enables you to preview the image on the phone screen and gives control over aspects such as the exposure, white balance and the focus point. Using the Bluetooth method only allows you to trip the camera’s shutter.
Once you’ve decided which connection method you to use, tap on it on the phone screen and away you go.

